When to Replace Grill Rescue Head: A Practical Guide
Learn exactly when to replace your grill rescue head, how to inspect wear, and a clear replacement flow. This educational guide from Grill Cooking helps home cooks keep grilling safe, efficient, and free from bristle hazards.

By the end of this guide, you’ll know exactly when to replace a grill rescue head, how to inspect it for wear, and how to weigh factors like bristle looseness and deformation. You’ll also get a simple decision flow, safety checks, and care tips to keep your grilling setup safe and efficient between replacements.
What the grill rescue head does and why wear happens
The grill rescue head is the cleaning head attached to your barbecue brush, designed to scrub grates and remove stuck-on residue. Over time, heat, grease, and repeated scrubbing cause wear: bristles can bend, loosen, or shed; the plastic or metal head can crack; and the attachment point to the handle can loosen. These factors aren’t just cosmetic. A worn head can slip during scrubbing, shed bristles into food, or fail right when you need it most. Understanding when to replace grill rescue head starts with recognizing typical wear patterns and recognizing that not all wear means replacement—sometimes a cleaning routine is enough, but other times the risk is clear and replacement is the safer choice. According to Grill Cooking, regular inspection is the first line of defense against bristle contamination and tool failure.
startWithBoldMatterInThisSection":false,
Tools & Materials
- Replacement grill rescue head(Choose a head that fits your brush model and grill type (gas/charcoal).)
- Heat-resistant gloves(Protect hands from hot surfaces during replacement.)
- Cleaning cloth or rag(Wipe down the head and attachment before reuse.)
- Screwdriver or wrench (if required by your model)(Some rescue heads attach with screws; have the right size handy.)
- Warm, soapy water and grill-safe cleaner(For pre- and post-work cleaning of parts.)
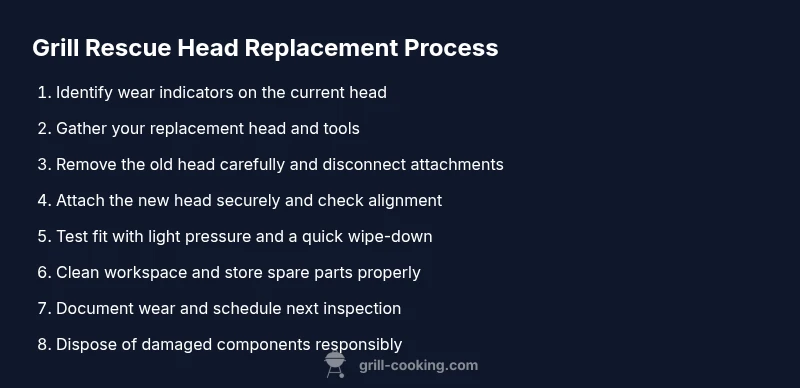
Steps
Estimated time: 15-25 minutes
- 1
Prepare your workspace
Clear a clean, dry area near your grill. Lay down a towel or mat to catch drips and place all replacement parts within easy reach. This reduces the chance of misplacing small components and helps you work efficiently, especially if the grill is still hot from cooking.
Tip: Arrange parts in order of assembly to avoid hunting for pieces mid-step. - 2
Remove the old head
If your model uses screws, use the screwdriver to detach the head. If it’s a snap-fit, gently twist counterclockwise and pull straight away from the handle. Keep track of any washers or spacers that might be part of the attachment.
Tip: Do not yank; a firm, steady motion preserves the integrity of the handle connection. - 3
Inspect the head and attachment
Examine the old head for bent bristles, cracks, or loose bristles that can shed. Check the attachment point for corrosion or wobble. If you see damage beyond superficial wear, plan for replacement rather than reuse.
Tip: Take a photo of the attachment if you’re unsure about compatibility with the new head. - 4
Match and attach the new head
Align the new rescue head with the attachment on the handle. Ensure the orientation allows full bristle coverage during scrubbing. Secure with screws or snap-fit as required, tightening evenly so the head sits flush.
Tip: Avoid over-tightening, which can crack plastic components or strip threads. - 5
Tighten and test fit
Reattach any washers or spacers, then gently test the head by applying light pressure. If there’s any wobble or gap, re-seat the head and re-tighten. A secure fit reduces bristle shedding during use.
Tip: Always perform a brief dry run before cooking to confirm stability. - 6
Clean up and store
Wipe away any grime from the handle, head, and your workspace. Dry thoroughly and store spare parts in a cool, dry place away from moisture and sunlight to minimize material degradation.
Tip: Keep a small parts bin to prevent loss of tiny screws or washers.
FAQ
How often should I replace the grill rescue head?
There isn’t a universal schedule; replace when you notice wear, looseness, or damage, or after heavy use. Regular inspections help catch issues early.
Check for wear and looseness after each grilling season and replace when you see damage.
What signs indicate an immediate replacement is needed?
Loose or shedding bristles, cracks in the head, rust on the attachment, or a wobbling connection all call for immediate replacement.
If you see loose bristles or a cracked head, replace it now.
Are replacement heads universal across grill models?
Not all heads fit every model. Verify attachment type and model compatibility before purchasing a replacement head.
Make sure the replacement matches your grill’s head attachment.
Can I safely clean a damaged head instead of replacing it?
Cleaning won’t fix missing bristles or cracks. Replacement is the safer option when damage is present.
If it’s damaged, replace rather than trying to clean it up.
Does replacing the head affect grill warranty?
Many warranties require using approved replacement parts. Check your warranty terms before buying a new head.
Review your warranty to ensure compatibility with replacement parts.
Where can I buy the right replacement head?
Look for manufacturer-approved parts or reputable retailers that specify compatibility with your grill model.
Search for brand-specific parts to ensure a secure fit.
Watch Video
Quick Summary
- Inspect regularly to catch wear before failure
- Replace damaged heads promptly to avoid bristle shedding
- Choose compatible heads and follow proper attachment steps
- Prioritize safety by wearing gloves and testing fit before grilling
- Maintain your tool kit with spare parts for quicker swaps