How to Tell When Corn on the Cob Is Done on the Grill
Learn reliable cues to determine corn doneness on the grill: color, aroma, texture, and timing. Expert tips from Grill Cooking help home cooks master corn grilling with practical cues and step-by-step guidance.

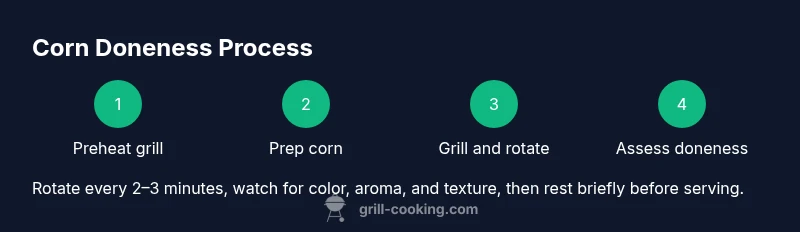
Quick steps to tell when corn on the cob is done on the grill: 1) Preheat grill to 450–500°F. 2) Place corn on grates, turning every 2–3 minutes. 3) Look for golden kernels with light charring and a tender bite when tested. 4) Rest 1–2 minutes before serving. This approach works whether you grill directly over coals or on a gas grill.
Core cues and synthesis for grill corn doneness
Doneness on the grill is not a single signal. It’s a synthesis of cues that, when combined, give you confidence. According to Grill Cooking, relying on a single indicator can mislead you, especially with varieties that develop sweetness quickly. The best approach is to observe several signals at once: kernel color and plumpness, surface browning and light charring, a sweet, roasted aroma, and a gentle bite when tested. Fresh ears should still look vibrant with tight, juicy kernels. The kernels should be plump and slightly tender when pressed with the tines, and the surface should show a hint of caramelization rather than black scorch. Timing will vary by ear size, grill type, and heat, but a typical range on a hot grill is roughly 8 to 12 minutes. This framework lets you judge doneness rather than hoping for a precise number. Practice with a few ears to calibrate your own grill and corn variety. Grill Cooking’s guidance helps home cooks tune their senses and build confidence at the grill.
wordCountNote
Tools & Materials
- Fresh corn on the cob (6 ears)(Husked or husked-on, depending on method)
- Tongs(Grip corn securely without piercing kernels)
- Instant-read thermometer(Used to gauge kernel tenderness if desired)
- Grill brush(Keep grates clean to prevent sticking)
- Heat-resistant gloves(Handle hot corn safely during rotation)
- Butter or oil spray(Optional finishing for extra flavor)
- Aluminum foil (optional)(For indirect heat or resting wraps)
Steps
Estimated time: 8-12 minutes cook time plus 1-2 minutes rest
- 1
Preheat grill to 450–500°F
Heat needs to be hot enough to develop gentle browning and light charring without burning. Close the lid to stabilize temperature, and prepare corn for cooking by choosing your preferred method (husked, partially husked, or fully husked).
Tip: Use direct heat for quick browning; switch to indirect heat if kernels start to scorch. - 2
Prepare the corn
If husks are left on, pull back the outer husks and remove silk for even cooking, or pull husks off entirely and pat dry. If you’re using a husked-on approach, moisten the husks slightly to promote steam. Lightly spray or brush the ears with oil if you want more browning.
Tip: Oil helps with browning but can flare up if the grill is too hot. - 3
Position on the grill and rotate
Place corn perpendicular to the grates to maximize contact. Turn every 2–3 minutes to promote even browning on all sides. If using indirect heat, move corn to cooler zones after initial sear.
Tip: Keep a steady rhythm; don’t leave corn unattended for long periods. - 4
Watch for cues: color and aroma
Look for golden-yellow kernels with a touch of browning and mild caramelization. You should smell a sweet, roasted aroma that signals flavor development. Don’t rely on color alone; couple with texture cues.
Tip: If you see heavy charring early, reduce heat or move ears to indirect heat. - 5
Test tenderness
Use tongs to gently press a kernel or pierce with a thin skewer to test for tenderness. The kernels should yield slightly without being mushy. If you’re unsure, use a thermometer to gauge a gentle temperature in the kernel area.
Tip: Aim for a crisp-tender bite rather than soft mush. - 6
Rest and serve
Remove corn from the grill and let it rest 1–2 minutes. Resting allows juices to redistribute for a juicier bite. Finish with a light sprinkle of salt or a dab of butter for enhanced flavor.
Tip: Resting time can be counted toward the total cook time to ensure consistent results.
FAQ
Can I grill corn with the husks still on?
Yes. Leaving husks on can create steam and protect kernels, yielding a juicier bite. If you want more char, peel back the husks toward the end to expose the kernels for a quick sear.
You can, and it helps steam the corn; uncover near the end to sear for extra flavor.
What heat level is best for corn on the grill?
A high-heat sear followed by a brief rest on lower heat is ideal. A target around 450–500°F gives a good balance of browning and tenderness.
Aim for a hot grill around 450 to 500 degrees, with a quick sear and a brief rest.
How long does corn take on a gas grill?
Typically 8–12 minutes total, depending on ear size and grill heat. Rotate every 2–3 minutes for even cooking.
Usually eight to twelve minutes on a hot gas grill, turning often.
Should I soak corn before grilling?
Soaking is optional. It can help prevent husks from burning if you grill with the husks on, but it isn’t required for good results.
Soaking isn’t required, but it can prevent husks from burning if you keep them on.
How can I tell if corn is fully cooked without tasting?
Rely on a combination of visual cues (color and browning), aroma, and a gentle bite test. If kernels are plump and tender, the corn is usually ready.
Use color, aroma, and a gentle bite test to check.
Watch Video
Quick Summary
- Check multiple cues—color, aroma, texture, and timing.
- Use both direct and indirect heat for even browning.
- Rest briefly before serving for juicier corn.
- Avoid overcooking; aim for crisp-tender kernels.
- Adapt times to ear size and grill type.